
![]() You must submit your website to Alexa to improve your Alexa ranking. Here is how to submit blog/website to Alexa. Since, Alexa indexes a new domain itself but it is good to submit your site and claim your ownership at Alexa for more benefit. To submit your website to Alexa you need to add some details to your website Alexa profile. By this way, you can make your website more professional. Follow the instructions below to add your blog to Alexa.
You must submit your website to Alexa to improve your Alexa ranking. Here is how to submit blog/website to Alexa. Since, Alexa indexes a new domain itself but it is good to submit your site and claim your ownership at Alexa for more benefit. To submit your website to Alexa you need to add some details to your website Alexa profile. By this way, you can make your website more professional. Follow the instructions below to add your blog to Alexa.
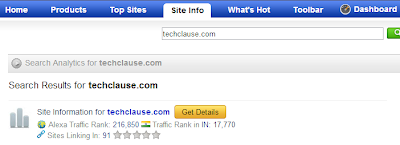
Why Submitting Website to Alexa?
Alexa is one of the best website ranking tool. So it’s always a good idea to submit your site details on Alexa. If you do so, it will be beneficial when advertisers use Alexa to find contact details or other details of your website as well as relevant site to advertise. Apart from this, Claiming your website on Alexa make your website profile on Alexa more professional and standard. So here is the beginners guide on how to submit your website to Alexa.
How To Submit Your Website To Alexa?
You may also like to read about How to submit site to google and bing and How to get google site links to your website.
Step 1. Creating Account On Alexa
To add your website to Alexa, first you need to certify your website on Alexa. Follow the step given below to certify your website on Alexa.
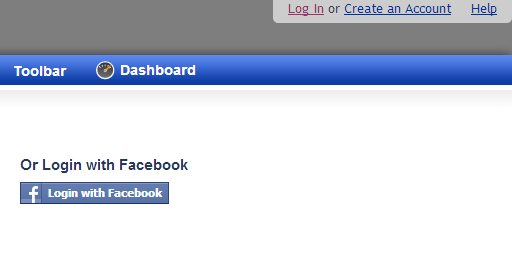
- Visit Alexa.com and create an account.
- You can either create a login account with your email or simply login with your Facebook account.

- Once you have created account on Alexa, make sure you are logged into Alexa.
Step 2. Claiming Website On Alexa
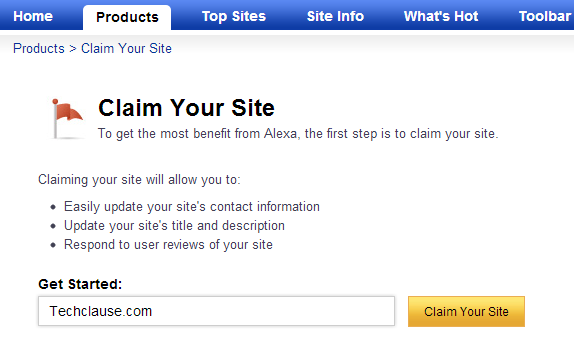
- Now visit Alexa site owners page <Link>.
- Now enter your blog/website domain name and click on “Claim your Site” button. See the picture below.

- A new page will be open with all plans and prices that Alexa offers as services. See the picture below. I recommend you to go with Free plan for a normal blog or website.

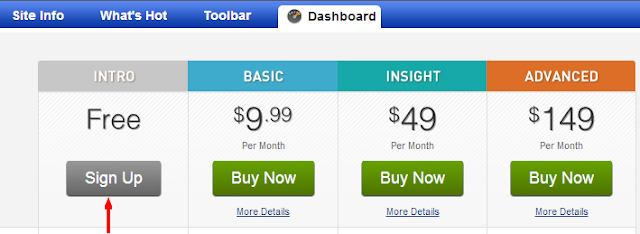
- Simply click on “Sign Up” under Free Plan.
Step 3. Verifying Website On Alexa
As you have certified your website on Alexa now you need to verify your ownership at Alexa by claiming your Website. Here is how to claim your website on Alexa.com.
- After clicking on Sign up page, It will show you a verification details in a new page.
- Now you need to add this verification ID into your website by any of the verification method. See the picture below.

- You can either add this verification ID as Meta tag in the head section of your website or upload a verification file to the root of your website.
- If you are a Blogger/Blogspot user, follow the below instructions to add your Blogger blog to Alexa.

- Edit your blogger template and add the below code after “<head>” section in your Blogger template.
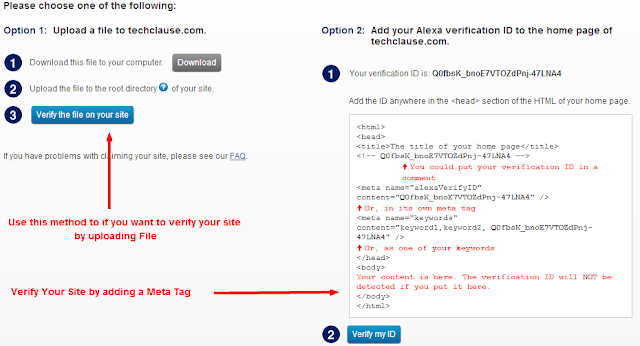
<meta name=”alexaVerifyID” content=”xxxxxxxxxxxxxxxxx” />
- Replace ‘xxxxxxxxxxxxxxxxx’ with your verification ID.
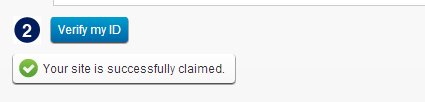
- After adding verification ID to your website come back to Alexa and click on “Verify claim”.
- If everything is right you will get a successfully message like the picture below.

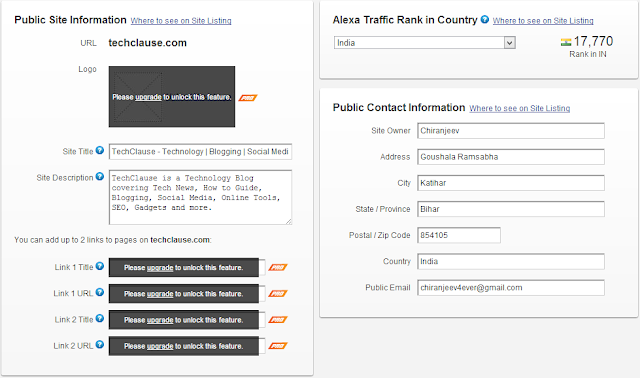
- Click on continue and now you can add your site details such as site URL, site title, description as well as traffic rank in country. You can also add your personal public contact details here. See the picture below.
- Cheers! you have done.
Congratulations! You have successfully submitted your website on Alexa. Hope you like this tutorial on submitting website to Alexa and may it works for you. It is always a good idea to submit a blog and website to Alexa or any similar sites. What you think about Alexa? It matters or just another website?